Don’t wait on graphics or photos while your WordPress website is being built. Create your layout using placeholder images and edit these exact same files once you have the final artwork.
How often do you begin building a site only to discover the images you need are not ready?
Perhaps you’re eager to add photos, graphs and charts not only because they are vital content but because you need to test your layout as you build the wireframe.
Similarly, the site might use Ipsum Lorem dummy heading and body text until the actual words are decided upon and written.
By the same token, placeholder website images are created as temporary measures so that the rest of the site can be constructed in the meantime.
It’s rather like building the window frames of a new house until the glass panes become available.
You or your web designer/developer will want to get on with creating the necessary code to accompany each image, with all the typical adjusting of CSS .img classes and tweaking of margins and padding.
There’s also the task of creating meaningful filenames (think Google image SEO optimisation).
Insert the Dummy Image Early, Edit for Real Later
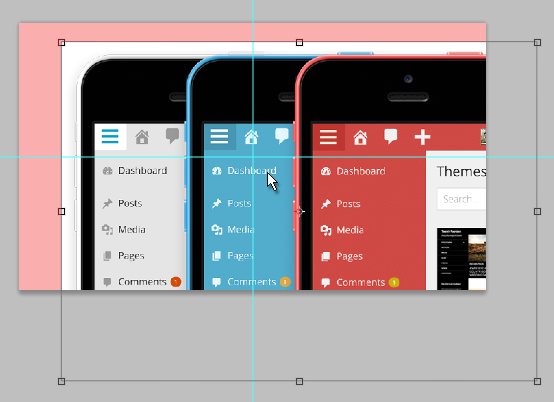
This dummy placeholder image would be later directly edited with Photoshop by pasting the final artwork on top in order to resize, reposition and get everything just so.
You’d flatten and save the image over itself. The filename stays the same, but the contents of the image change when the website is refreshed.
The files themselves don’t change, but the pixel content of these files do. Make sense?
Tweak HTML for Each Image
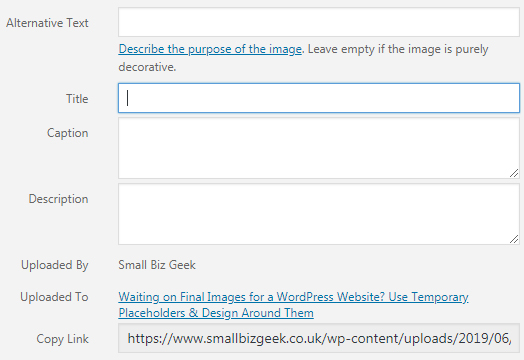
Once an image is inserted via the WordPress editor, the necessary HTML code for that image will be generated.
At this point you can add alt text, HTML tags, descriptions, captions and any internal/external links (if want your image to be clickable).

At this point, you might think the placeholder image is unnecessary. You don’t have to use such an image to occupy screen space for layout reasons.
Yes, you could use inline CSS to style a temporary HTML container at the desired size, perhaps with a coloured border and a fill background colour.
But you’re going have to insert images at some point.
There’s also the particular way the WordPress media uploader works, which I’ll get to shortly.
Using Photoshop Groups/Layers to Create Placeholders
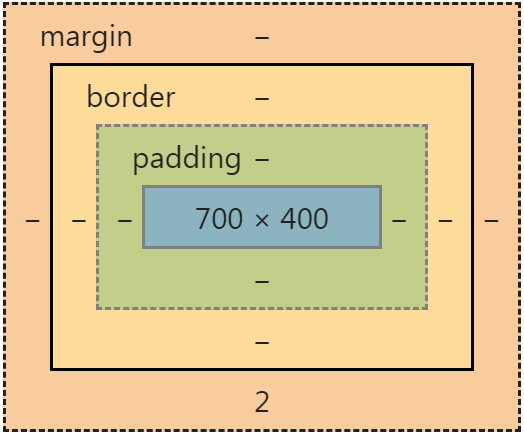
Let’s imagine you’re going to add featured images of 700 x 400 pixels at the top of pages and posts. A featured image for every webpage.
Using something Photoshop, you’d create a canvas at the exact size, with a solid colour background.
Each image would be organised into properly-named layers and groups (home, about, services, contact etc) with a view to pasting in the real images once they’re received.
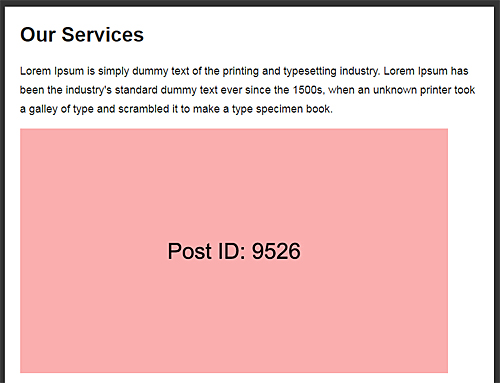
Create a draft WordPress post/page and use the corresponding 4 digit post ID from the URL.
So if I was creating an image for the Services webpage, I’d get the post ID and add that to the correct image in Photoshop.

The ID in this example is 9526.
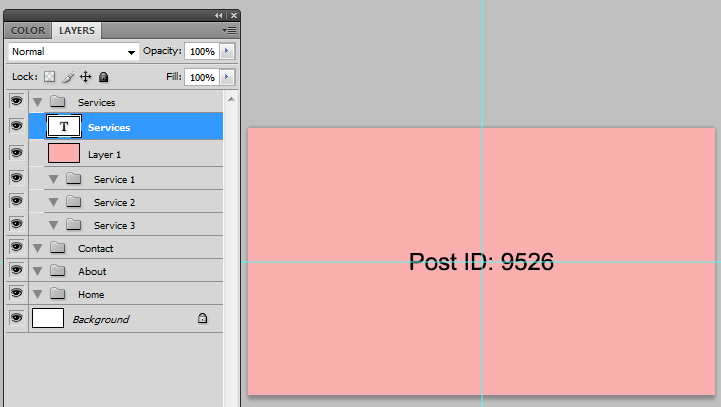
You want the post ID to be positioned in the middle of your image, and not in too large a font size. Here’s why…
Working with the WordPress Media Uploader
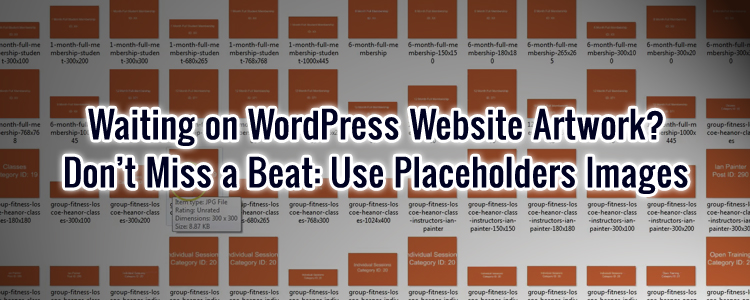
The WordPress media uploader will automatically produce several smaller images based off of one single uploaded image.
Some of these auto-generated images will be cropped into rectangular and square aspect ratios, which is why you want your text label in the middle centre of the image.
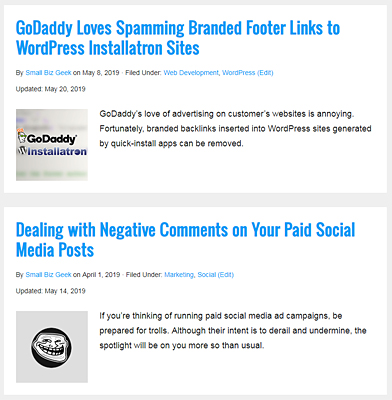
Those extra WordPress thumbnails must be edited and properly composed because featured images for blog posts generate a 150 x 150 thumb used for blog post archive previews.
See the example below.
Some of the other auto-generated thumbnails are used by social networks when you post links to Facebook, Twitter etc.
They will pull in the best-sized image for their news feed, and it needs to look good.
Find Location of Dummy Images and Edit Them
So, you’ve created your website layout using temporary placeholder dummy images.
The real artwork has been supplied to you and you’re ready to edit the dummies.
Right-click any image on your site, select “Open image in new tab” and take note of the image URL in the browser address bar.

By default, WordPress puts any images uploaded via the media uploader to this path…
www.example.com/wp-content/uploads/XXXX/XX/example.jpg
…where XXXX represents the year and XX the month.
Access your remote web server (I use FileZilla) and locate the uploaded images, not forgetting accompanying thumbnails that were generated by WordPress.
Copy these to your computer, edit each of them with whatever graphics program, and put them back in the same uploads folder they came from.
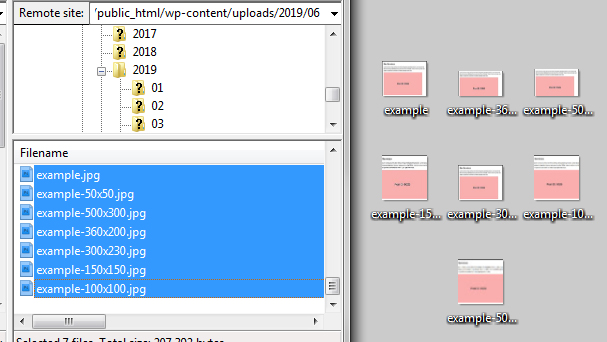
Remember that all the thumbnails associated with your original image must be edited.
Summary: No Time to Waste Working with WordPress
The video below outlines the principle of these placeholders using WAMP as a localhost. This scenario assumes you’re building a new website for the first time.
Of course, you don’t have to use a localhost, nor does it have to be a new site.
Placeholders are an effective, methodical, time-saving approach to adding image content to draft WordPress pages.
I hate to sit around waiting on others to send content. Assuming we already have the wireframe and know exactly what any given page is supposed to look like, I’ll use this workflow.


